Step 1: Click Apply to Join
Open your preferred web browser and go to Topline.com. Click Apply to Join on the upper right corner.

Step 2: Enter your Full Name
Input your full name in the designated field. This step is essential for personalizing your profile.

Step 3: Enter your Email Address
Provide a valid email address. This will be used for verification and communication purposes.

Step 4: Create a Password
Create and enter a secure password in the given field. Ensure that it meets the security requirements for a robust profile.

Step 5: Tick the Box
Check the box to agree to the terms and conditions. Make sure you read them before proceeding.

Step 6: Sign Up
Click on the Sign up button to create your account.

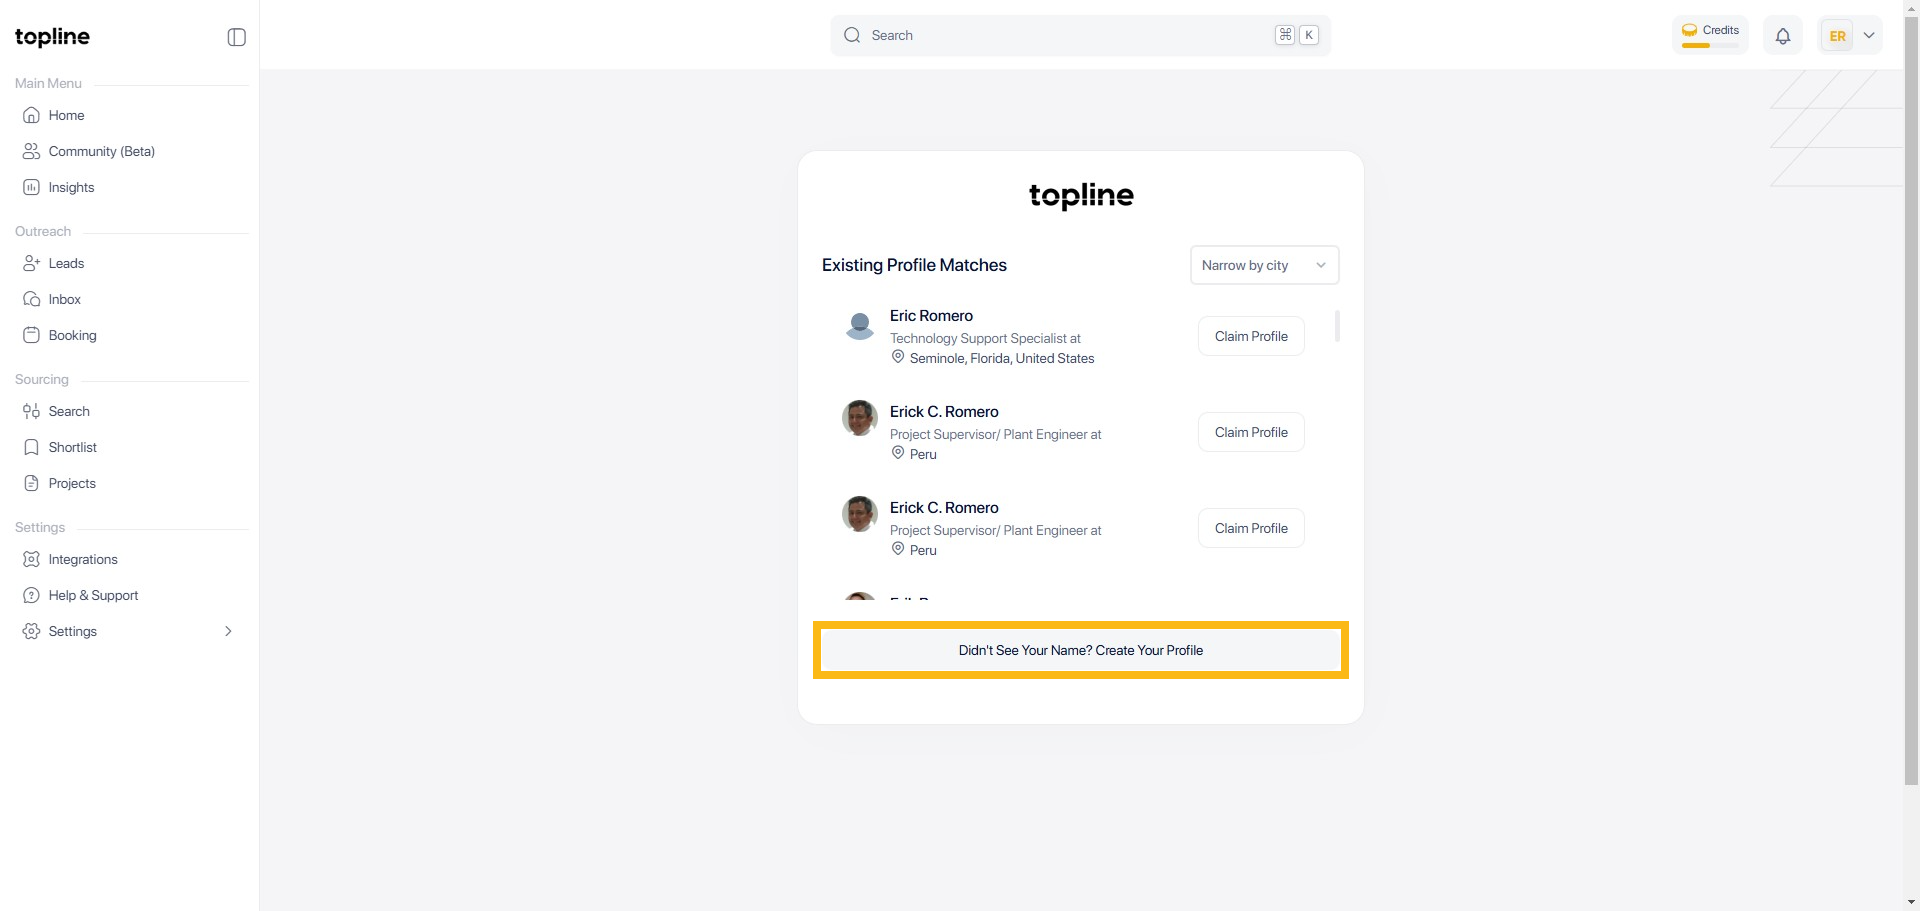
Step 7: Create your Profile
Click Create Your Profile to proceed if you didn't see your profile matches to existing list.
Step 8: Setup Manually
Find and click the Setup Manually button.
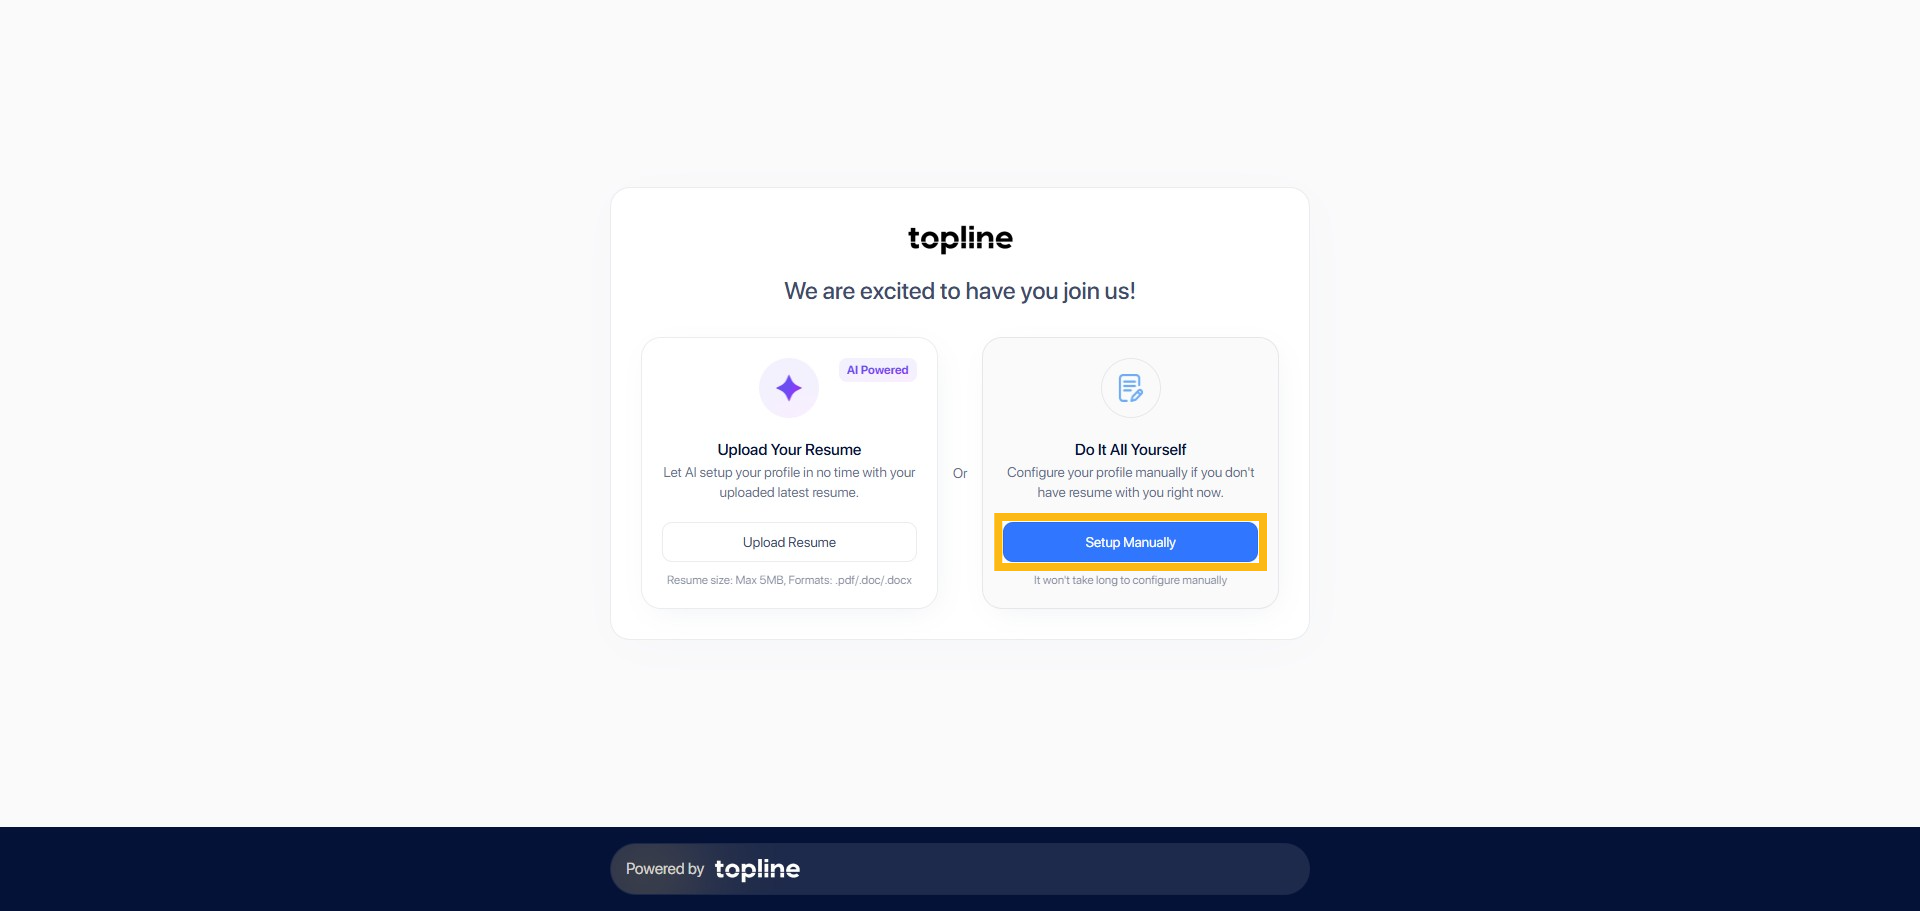
Step 9: Upload your Resume
You can also Upload Resume here and let AI set up your profile.

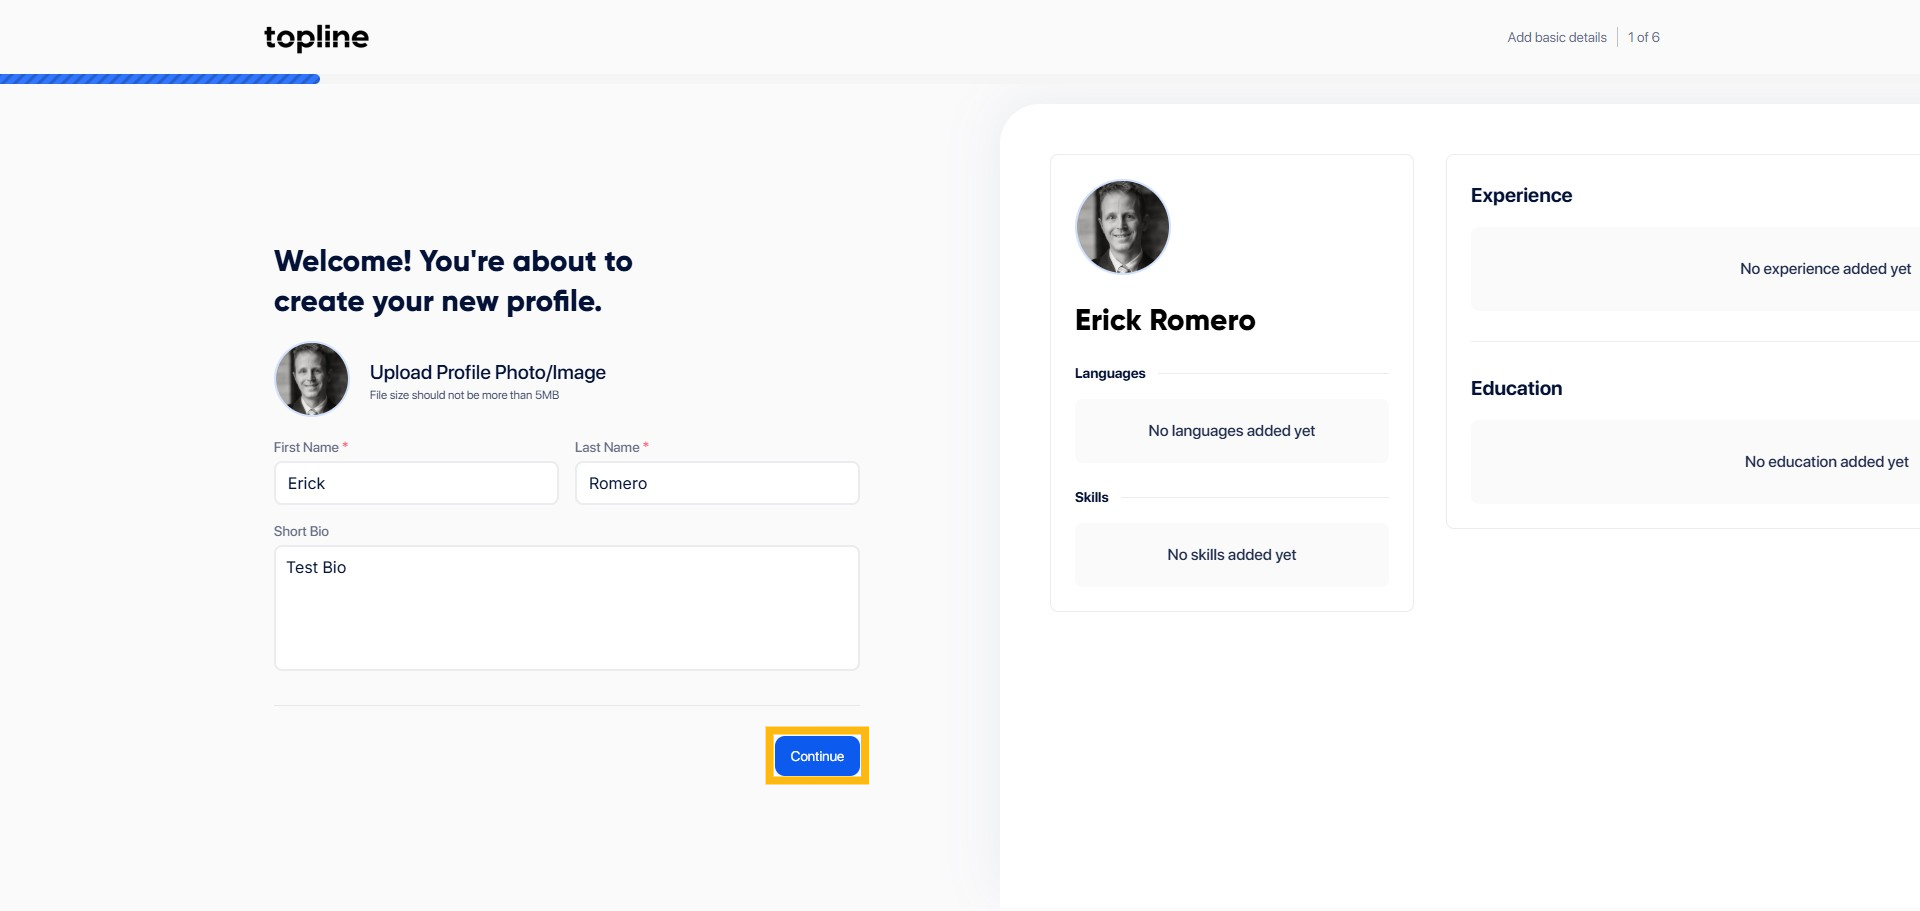
Step 10: Add Bio
Add your details here.

Step 11: Click Continue
Find and click the Continue button to proceed.
Step 12: Work Address
Enter your work address here.
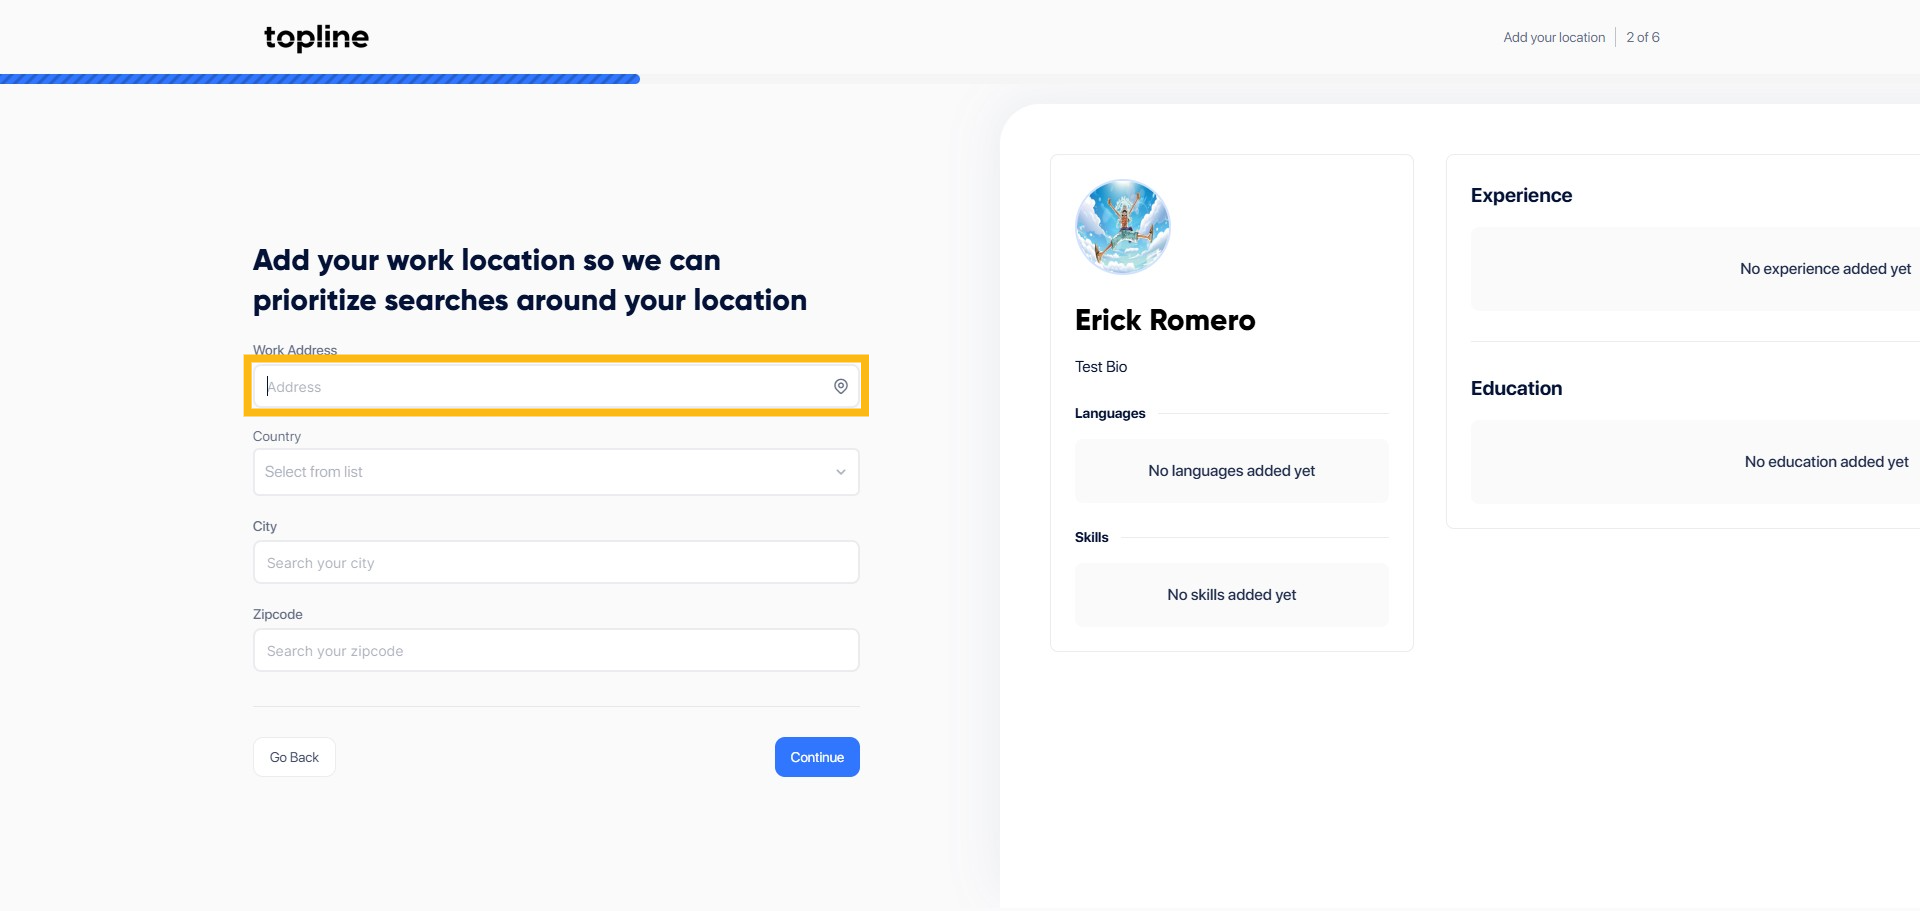
Step 13: Select your Country
Enter your work address here.

Step 14: Select your City
Enter your city here.

Step 15: Zip Code
Enter your Zip code.

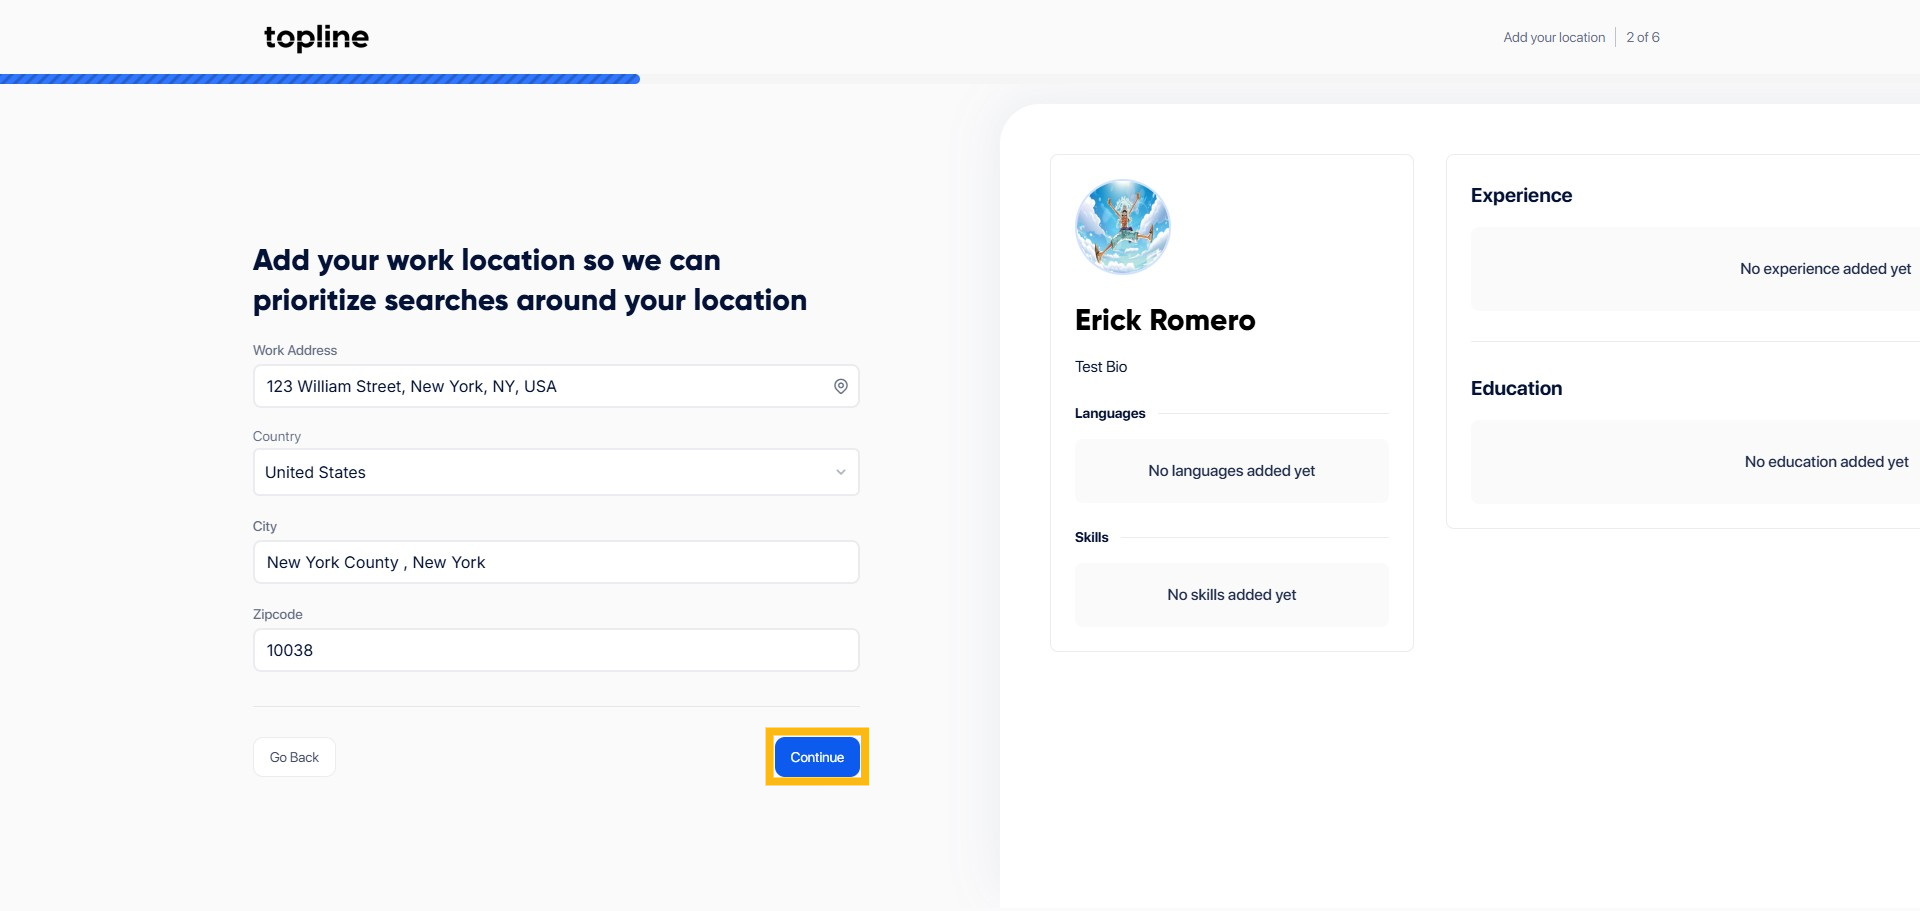
Step 16: Click Continue
Find and click the Continue button to proceed.
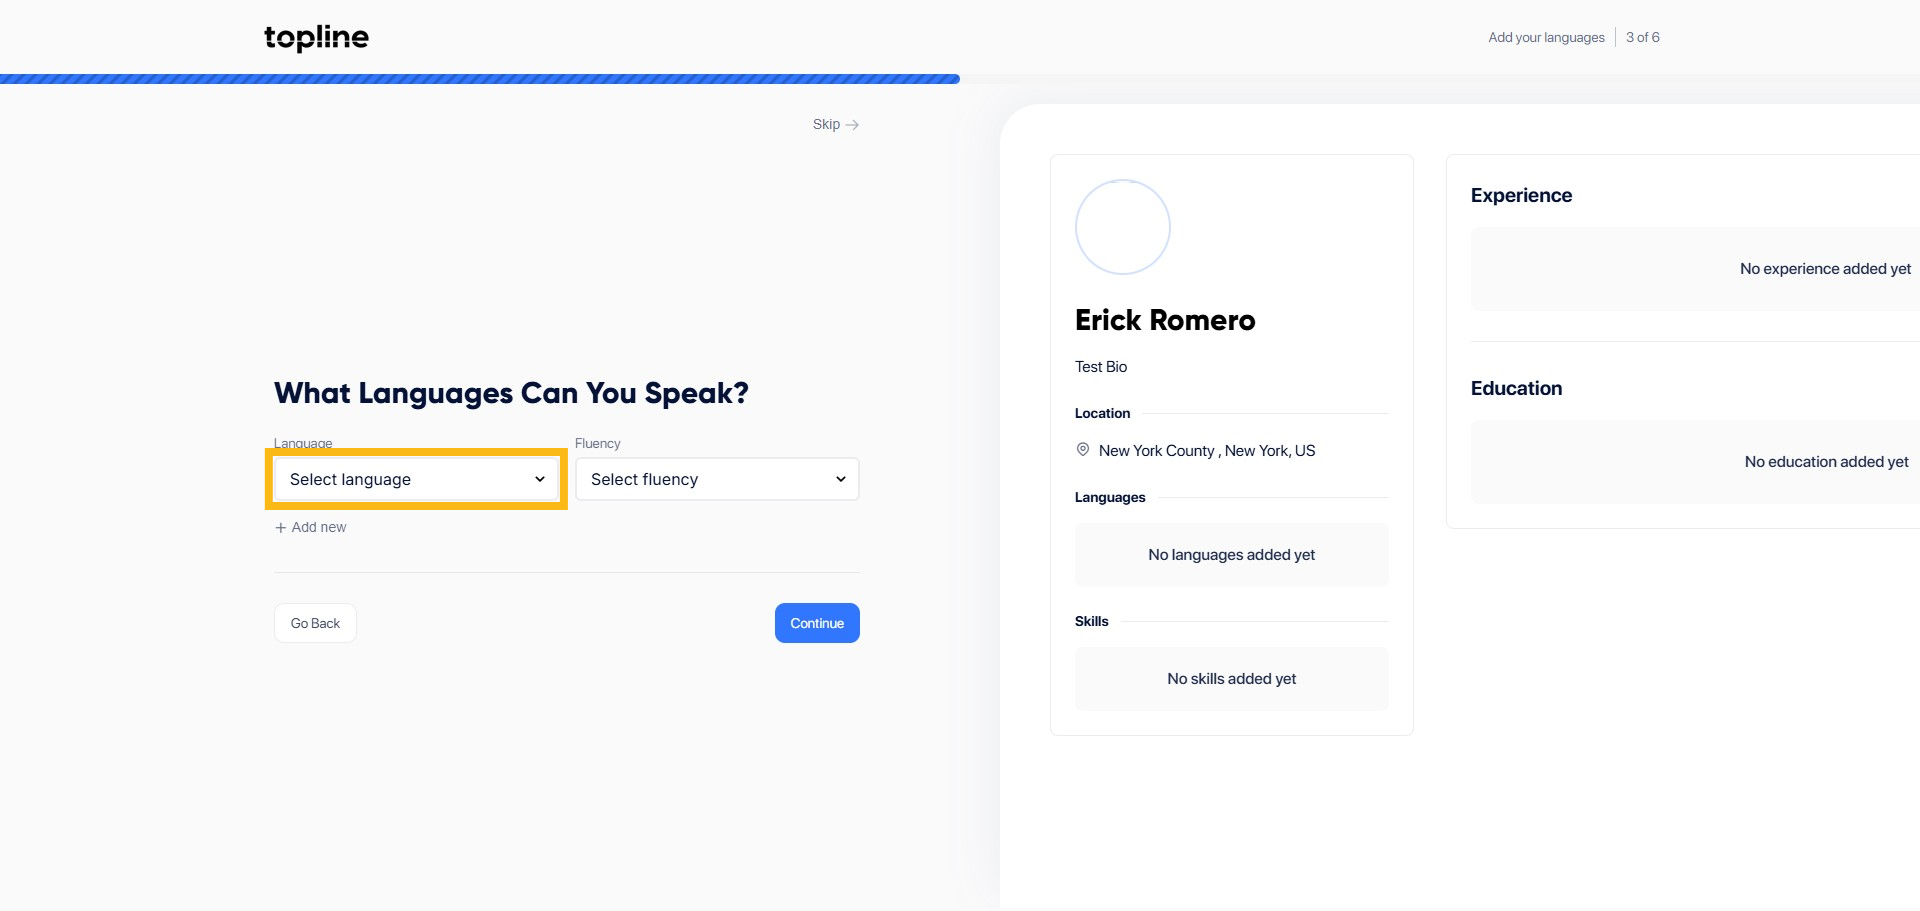
Step 17: Select Language
Select your language from the dropdown menu.
Step 18: Select Fluency
Select your fluency from the dropdown menu.

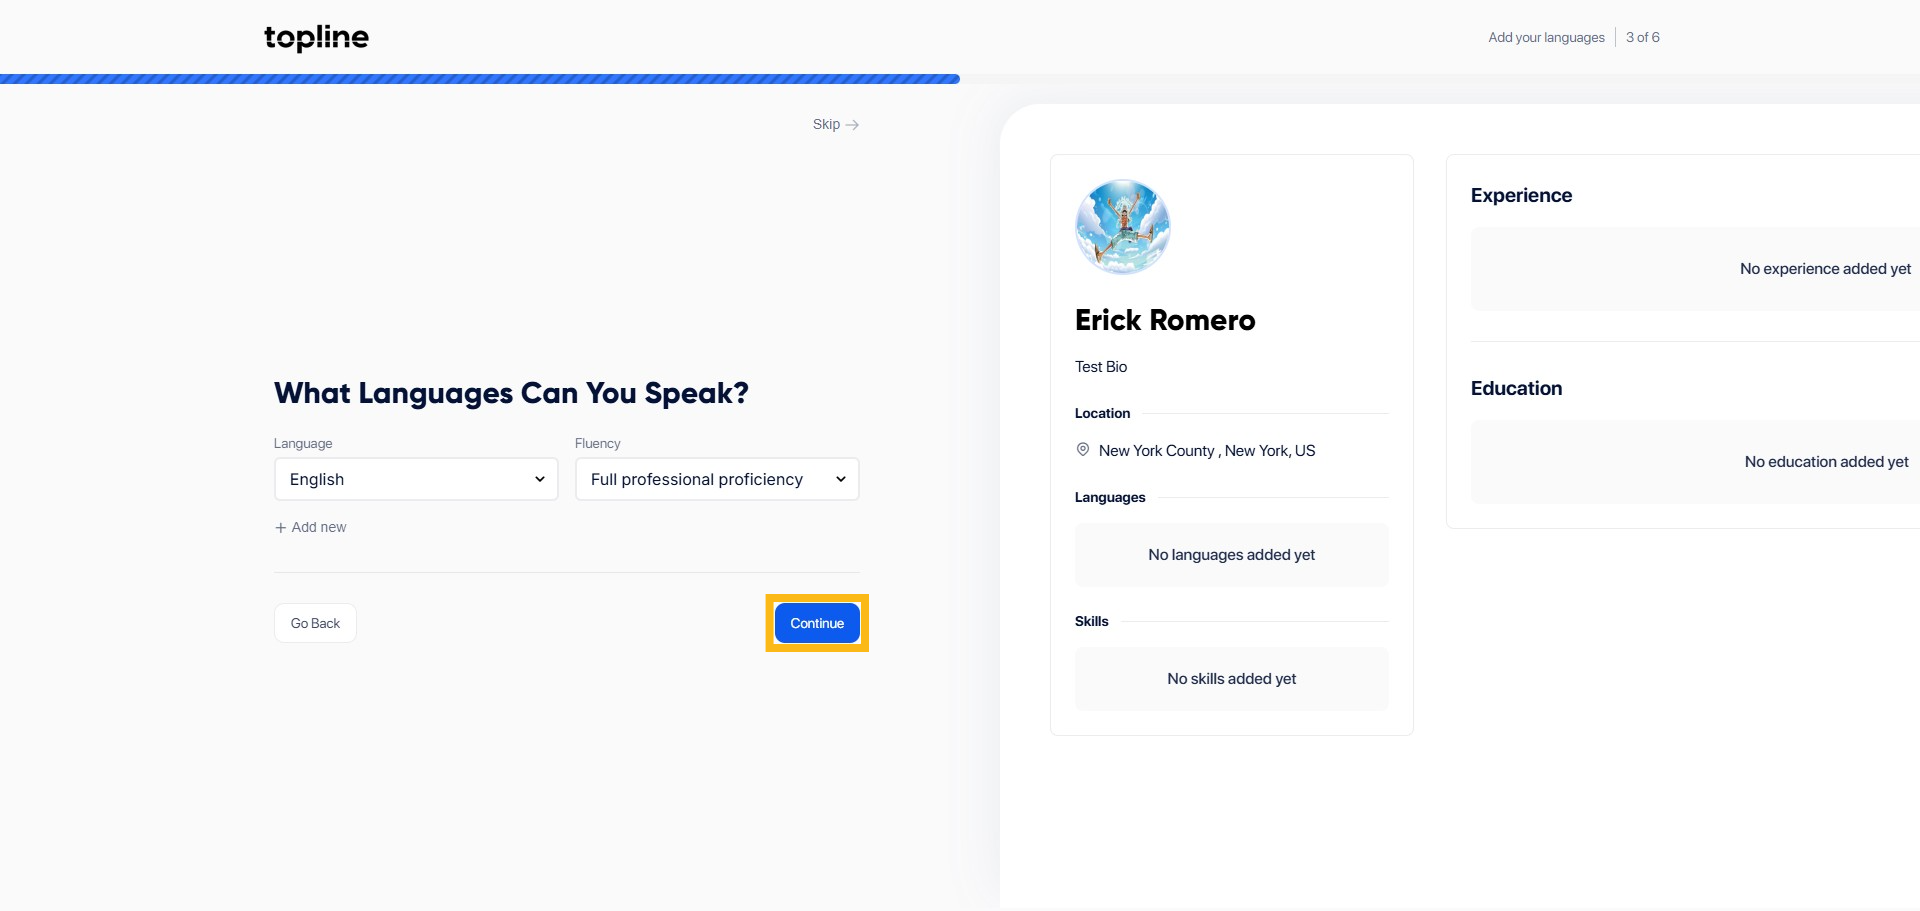
Step 19: Click Continue
Find and click the Continue button to proceed.
Step 20: Add Skills
Add your skills here.

Step 21: Click Continue
Find and click the Continue button to proceed.

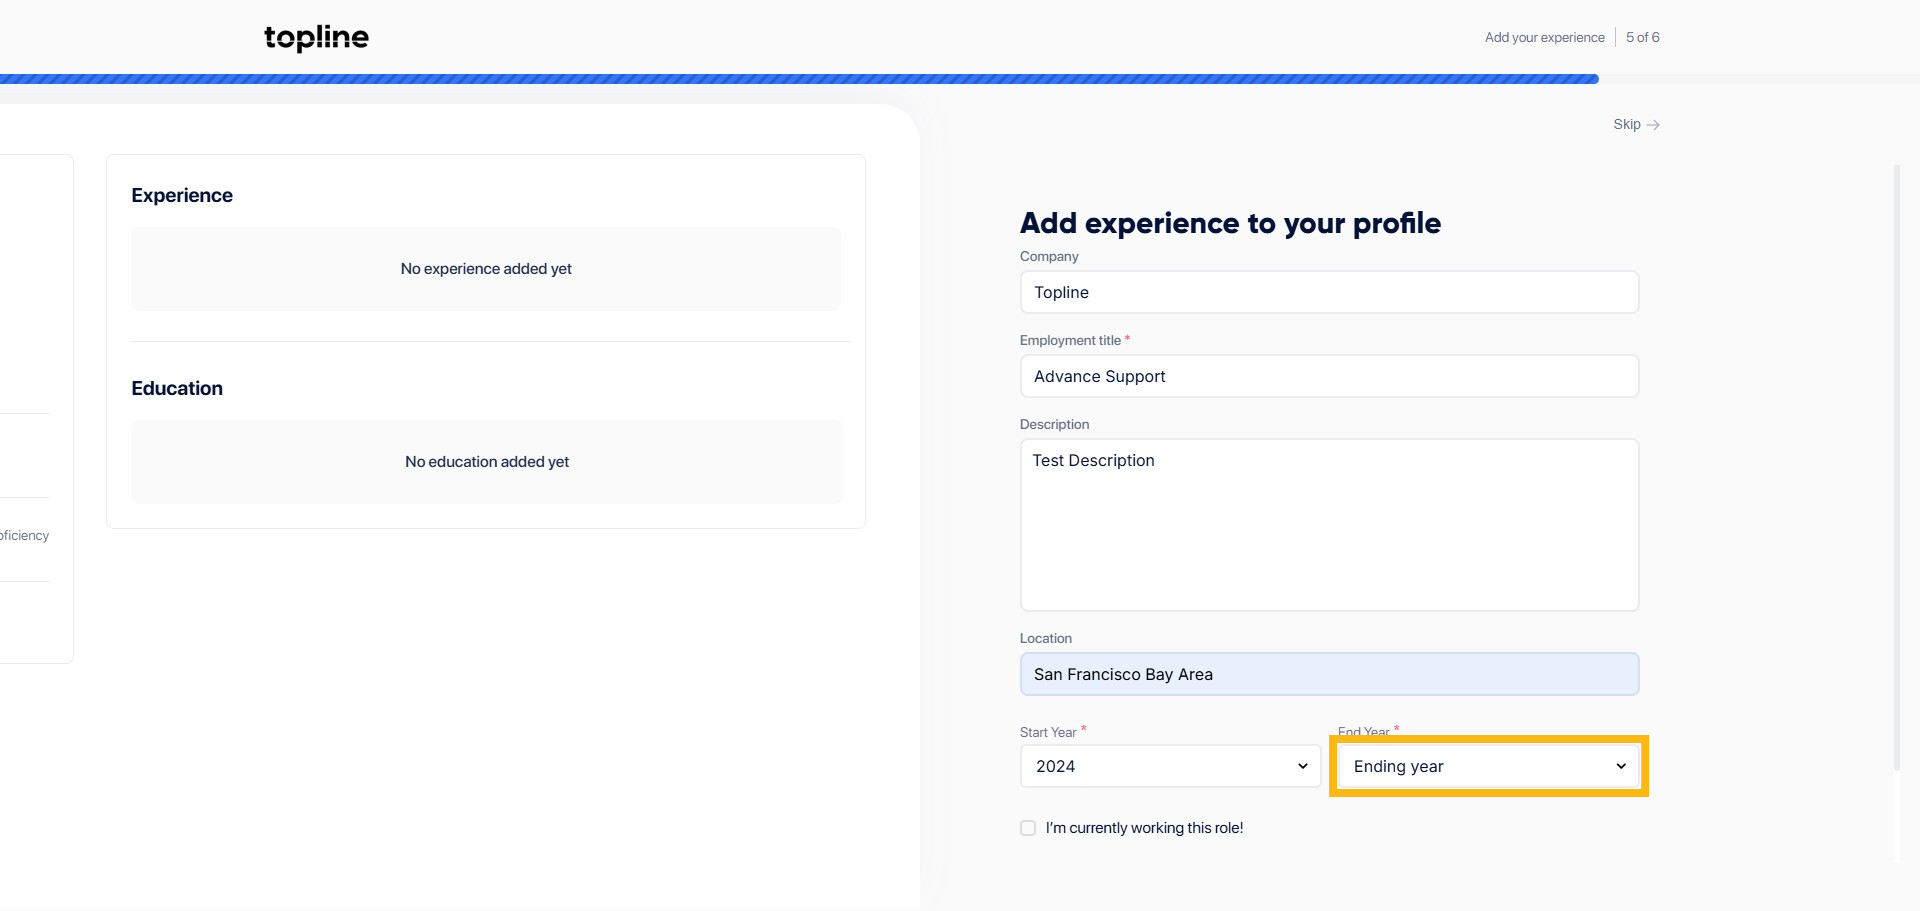
Step 22: Add Company Name
Add experience to your profile here. Start by entering your Company name.

Step 23: Add Employment Title
Add your position or employment title here.

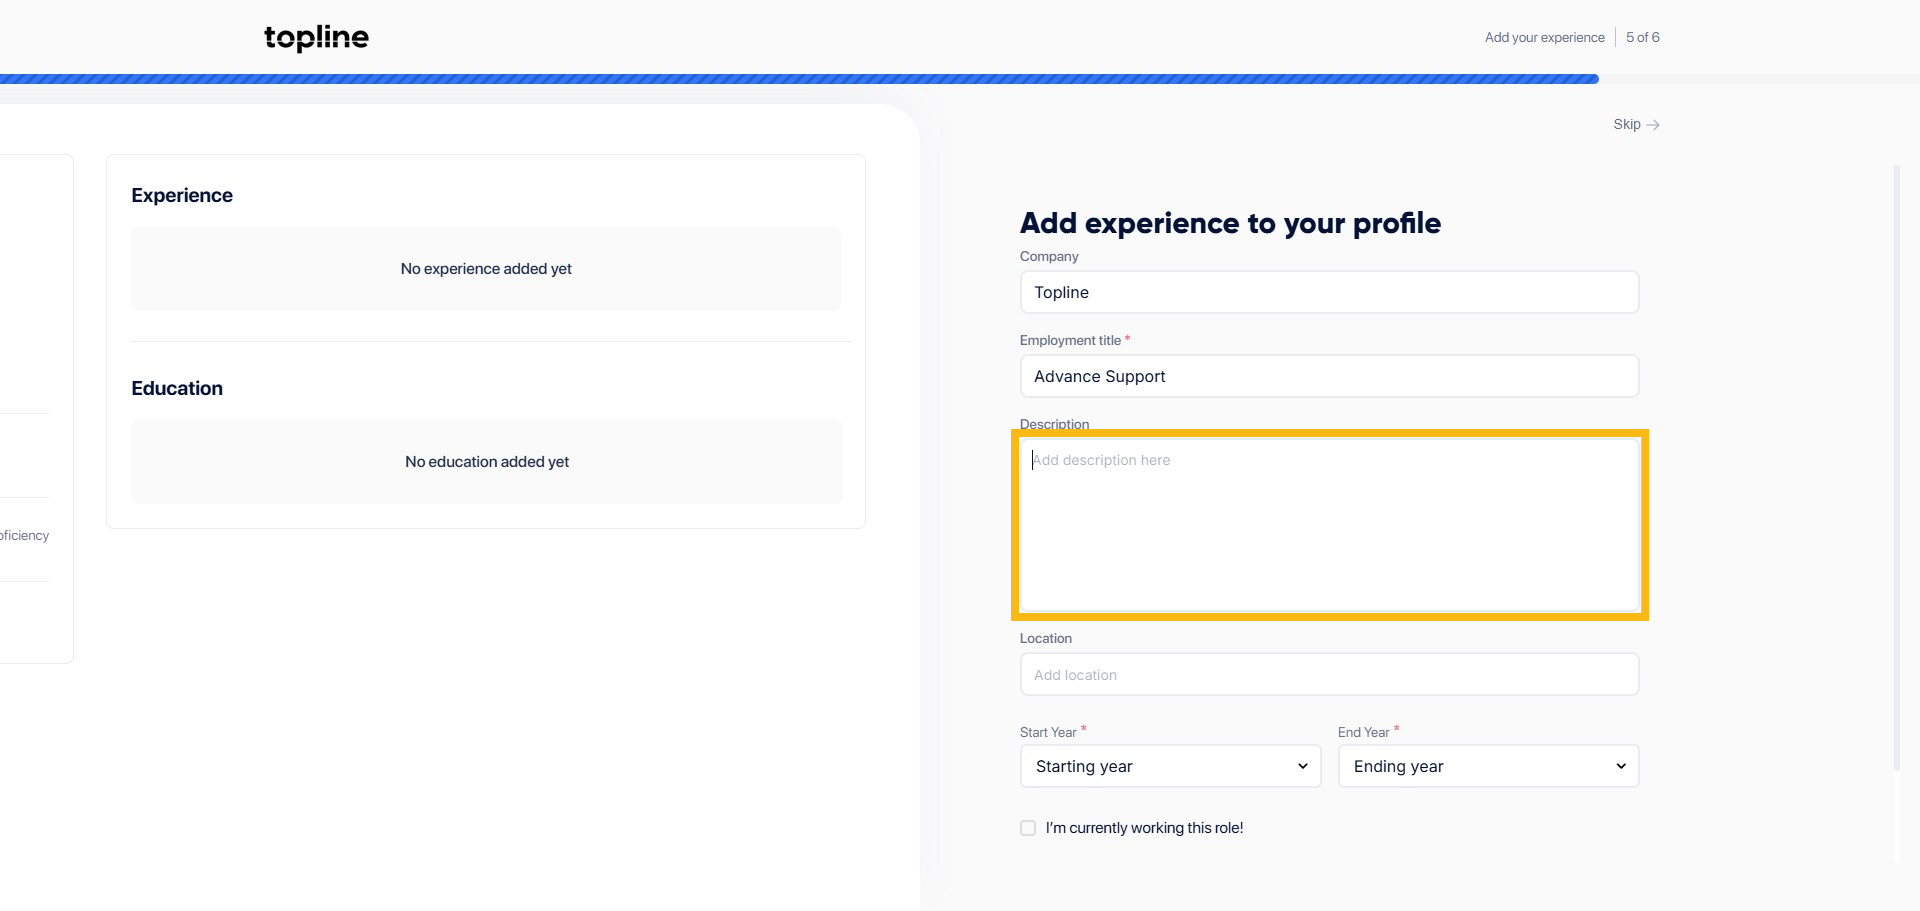
Step 24: Job Description
Add your job description.
Step 25: Add Location
Add your employment location here.

Step 26: Add Start Year
Add the start year.

Step 27: Add End Year
Add the end year.
Step 28: Tick the Box
Tick the box, if currently working or employed.

Step 29: Click + Add More
Click + Add more if you wish to add more experience or select continue to proceed with the next step.

Step 30: Add Institute Name
Add your education profile, start by adding the institute name here.

Step 31: Add your Degree
Add the degree you finished.

Step 32: Add Field of Study
Add your filed of study.

Step 33: Select Start Year
Select the start year.
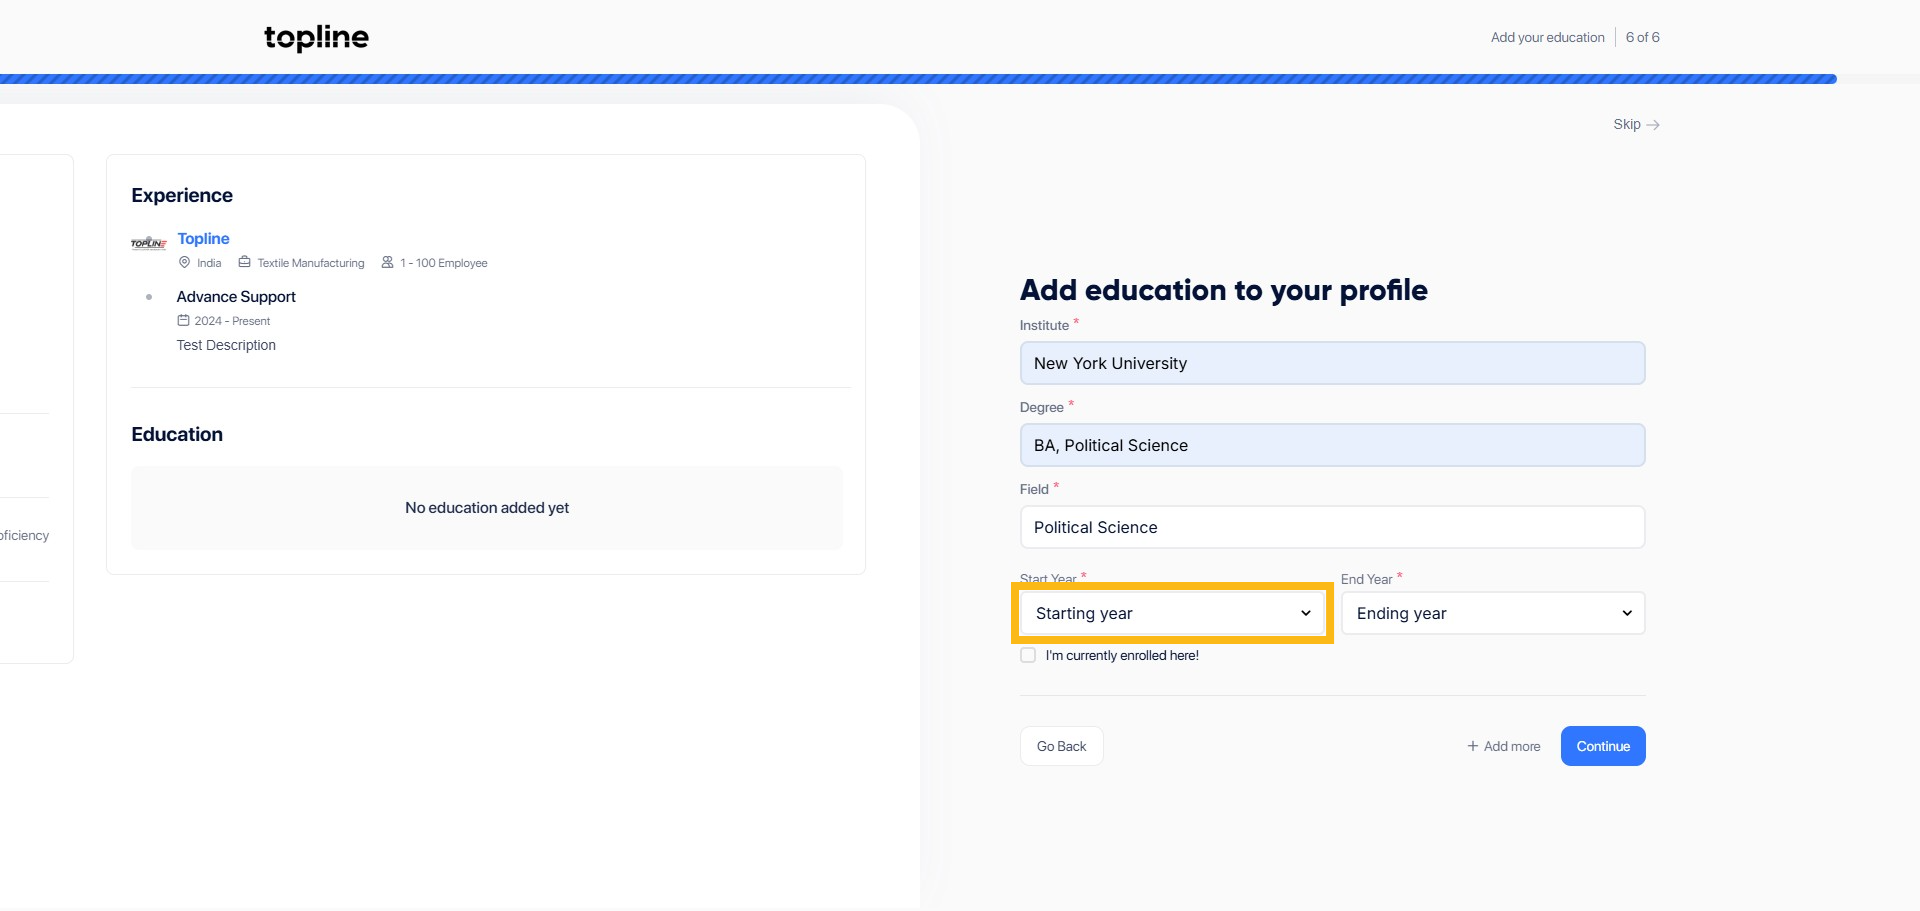
Step 34: Select End Year
Select the end year.

Step 35: Click + Add More
Add more, if you wish to add more degree to your profile or click Continue to proceed to the next step.

Step 36: Profile Preview
You'll be redirected to the next page to preview your profile. Click Looks Good if you wish to proceed or click Go Back & Edit if you want to add changes.

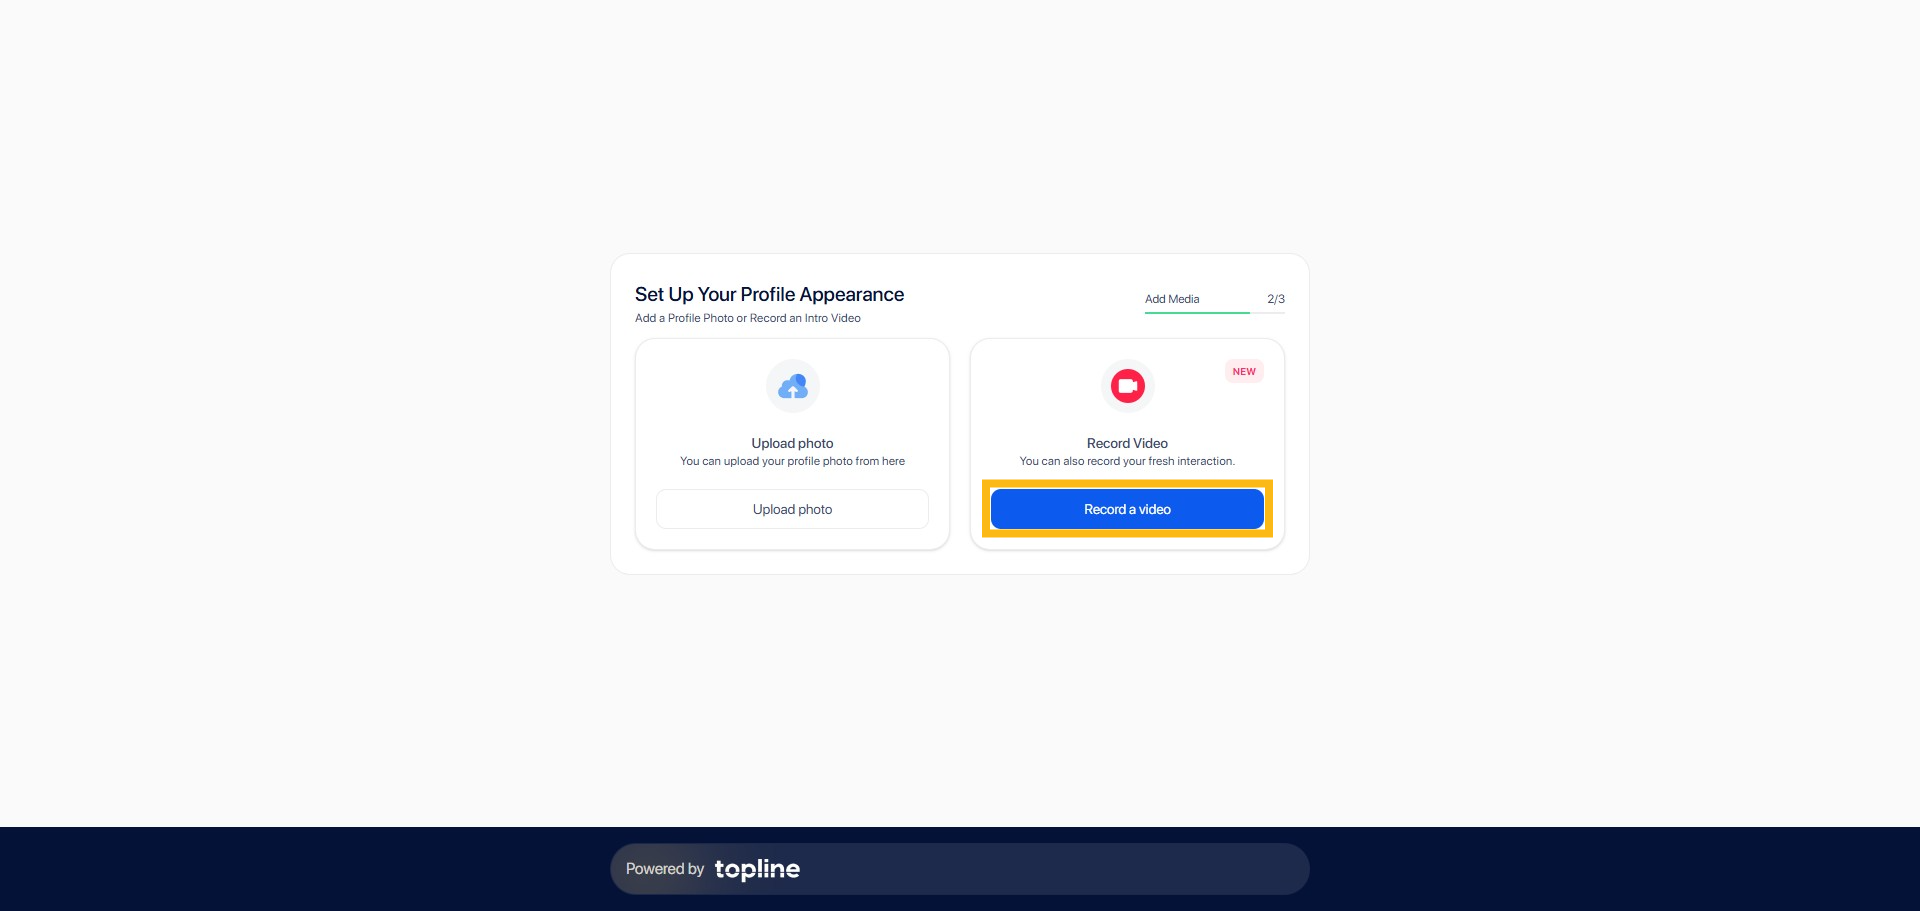
Step 37: Profile Photo
You can set up your profile appearance here by uploading a profile photo.

Step 38: Upload Photo
In the provided field click Upload photo to upload a profile photo and click Save & Continue to proceed to the next page.

Step 39: Video Introduction
Find and click the Record a video button to provide a short video introduction.
Step 40: Record a Video
Find and click the Record a video button to initiate the recording.
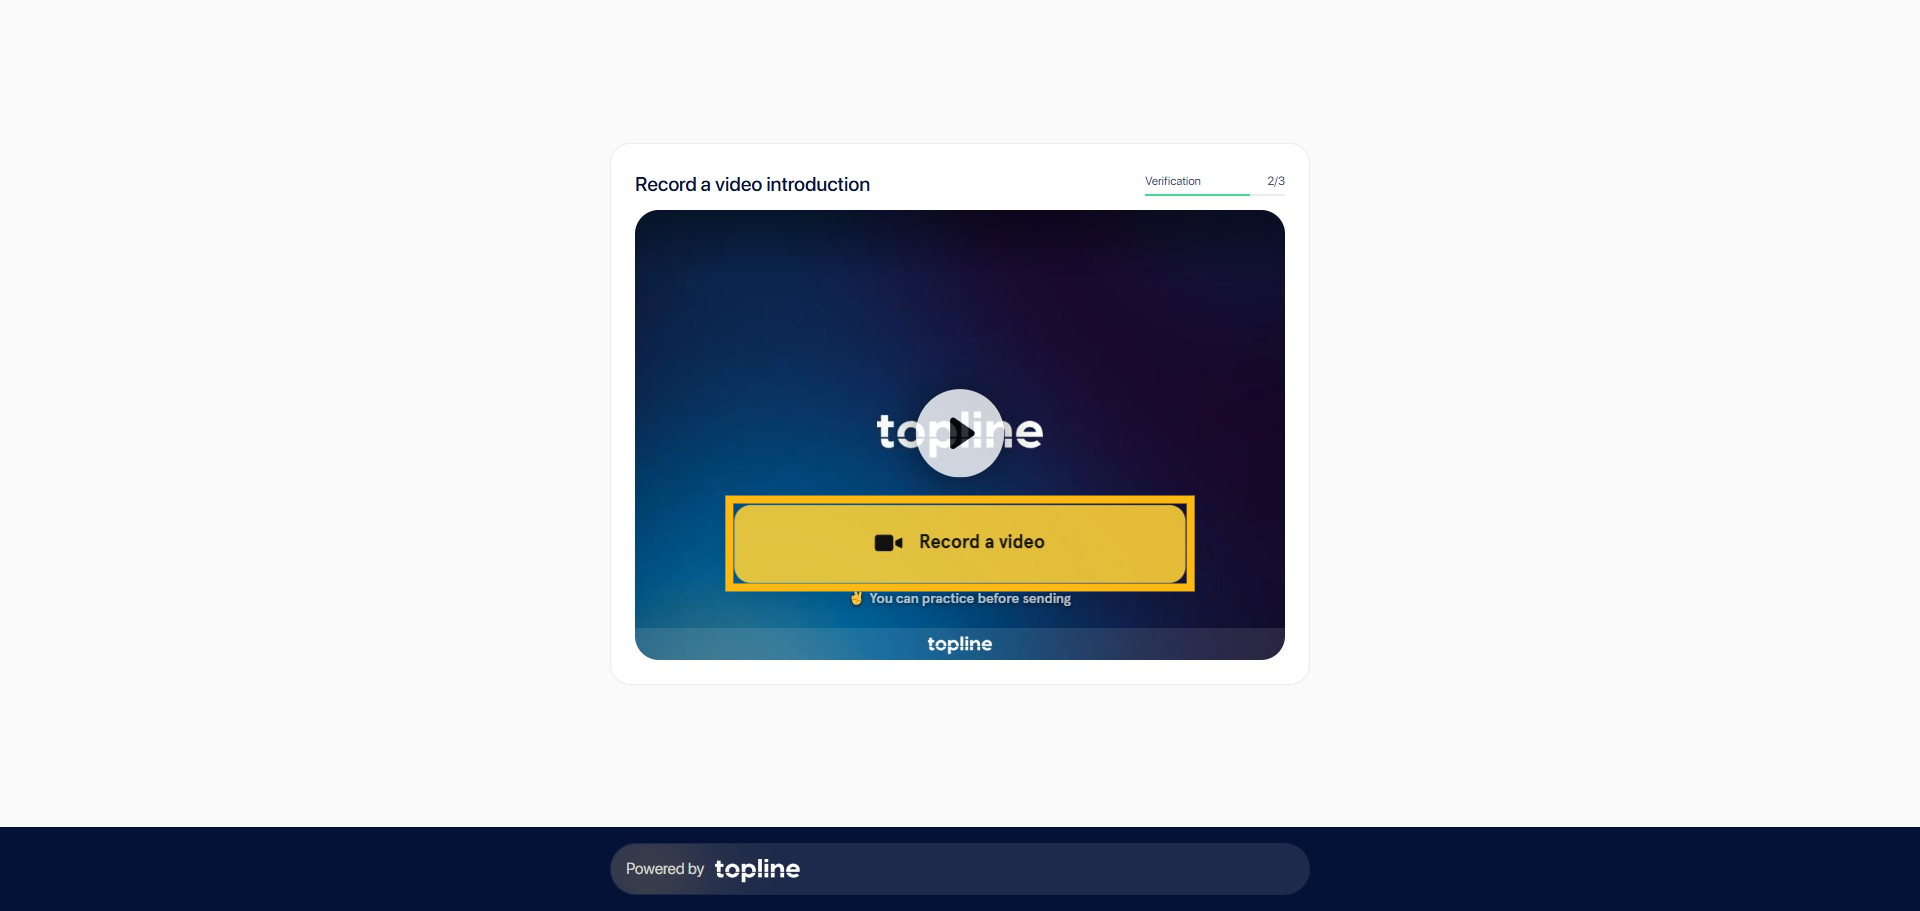
Step 41: Click Record to Start
Click the red button to start.

Step 42: Click the Red Button to Stop
Find and click the red square icon button to stop the recording.

Step 43: Yes or No
Click Yes, if you wish to send. Click No, if you wish to restart again.

Step 44: Send Invitation or Skip
You can send invites or reference request here or you may click Skip button to complete the setup.