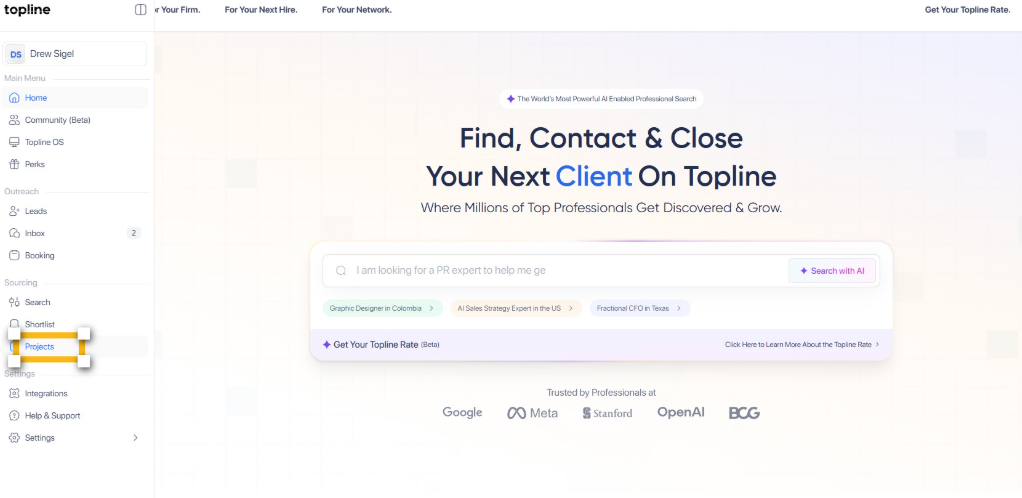
Step 1: Navigate to Projects Page
Start by opening your browser and navigating to access the project creation portal.
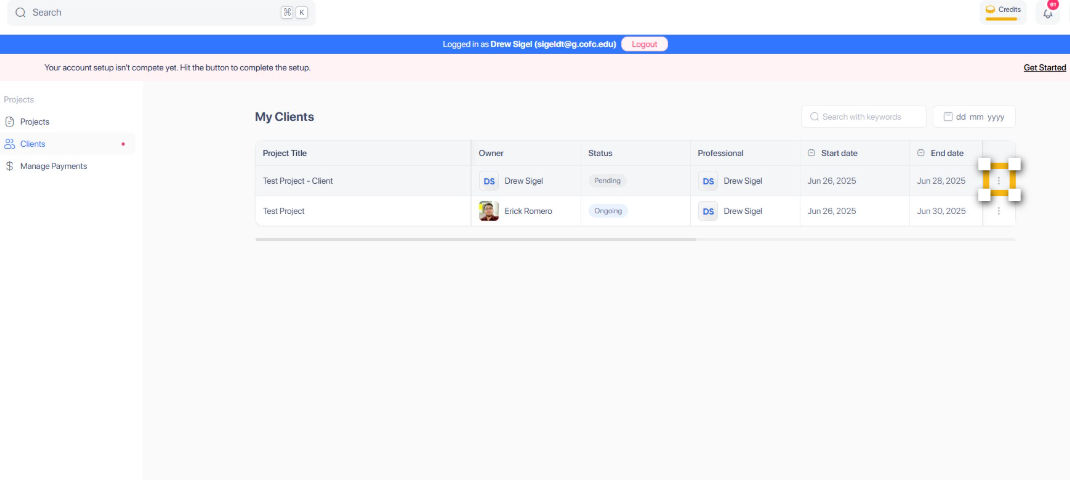
Step 2: Click Clients
Once you are on the projects page, locate and navigate to the Clients section from the navigation menu.

Step 3: Click the 3 dot icon
In the Clients section, find and click the 3 dot icon to manage the client.
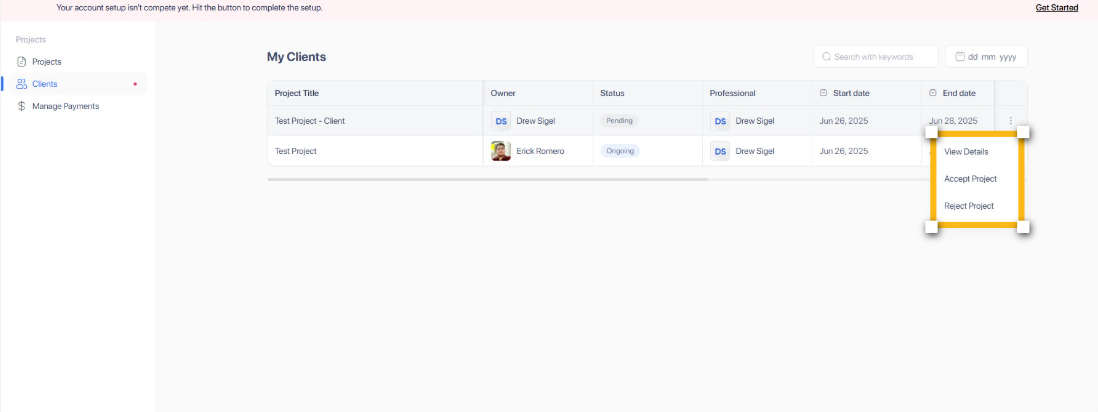
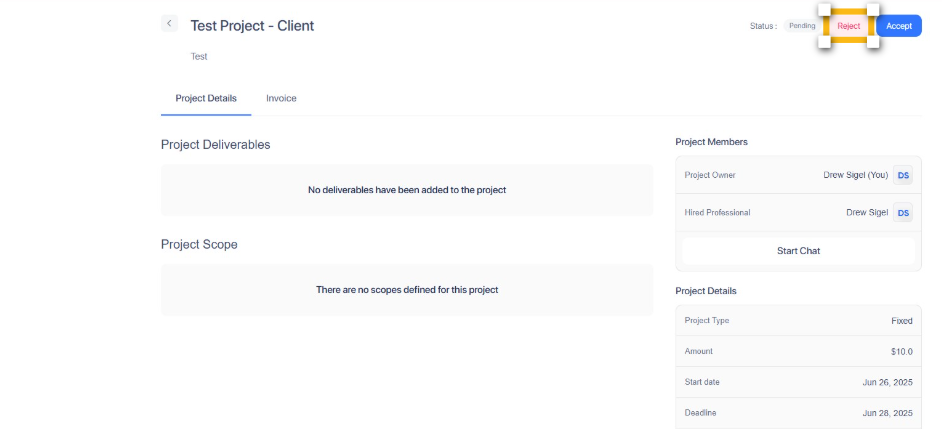
Step 4: Select to view Details and Reject or Approve
A new tab opens, allowing you to review the project details and choose between Accept or Reject.
Step 5: Click Reject button
If you need to reject a client request, locate and click the Reject button in the client’s details view.
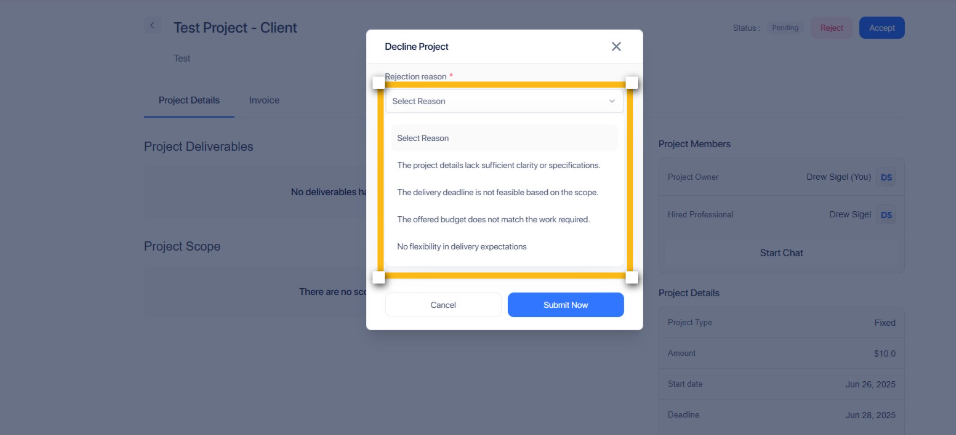
Step 6: Select Reason
Select reason to confirm the rejection of the client request.
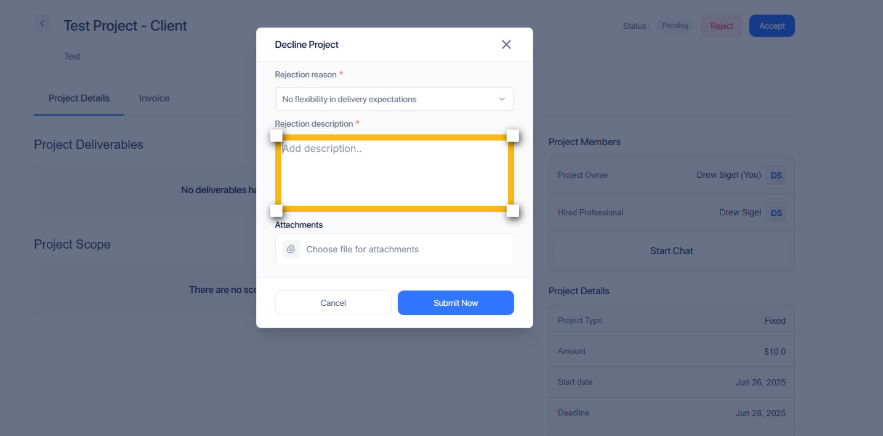
Step 7: Add Description
You can add rejection description here.
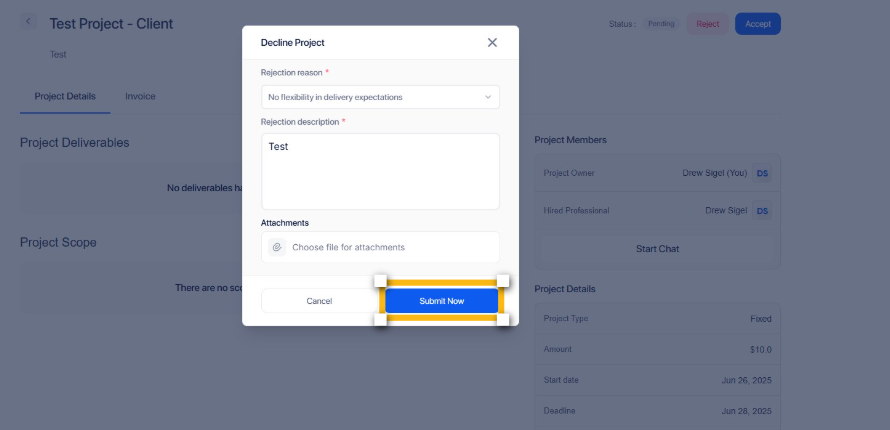
Step 8: Click Submit Now
When all details are reviewed and ready, click the Submit Now button to proceed.
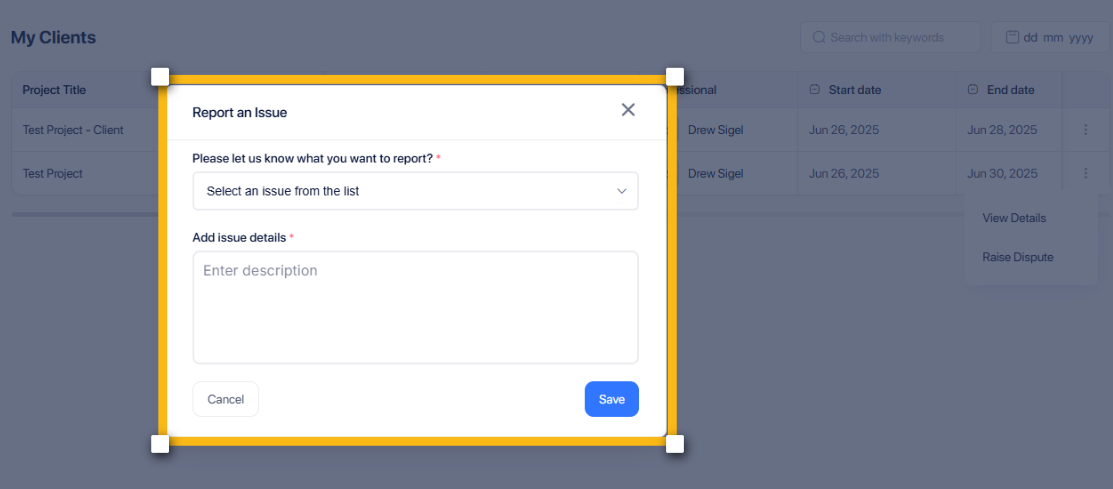
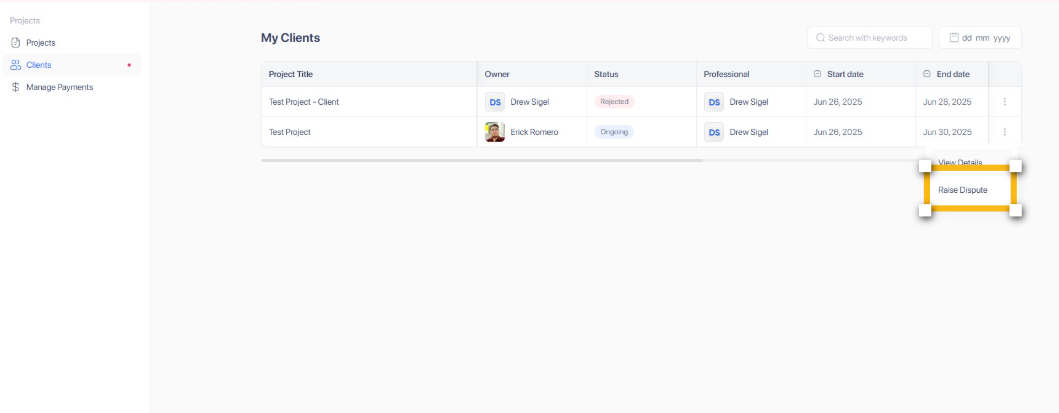
Step 9: Raise Dispute
You can return to My Client page to raise a dispute.
Step 10: Click Save
Select an issue from the list, add details and click Save to proceed.